


Have you ever found yourself overwhelmed while trying to add a round-robin to your Zapier workflow? In a previous post, I discussed a method that required three tasks per cycle.
But what if you could achieve the same result with just one task? That’s right, one task for the same outcome.
Ready to streamline your workflow?
Let’s dive in!
Ensuring Security
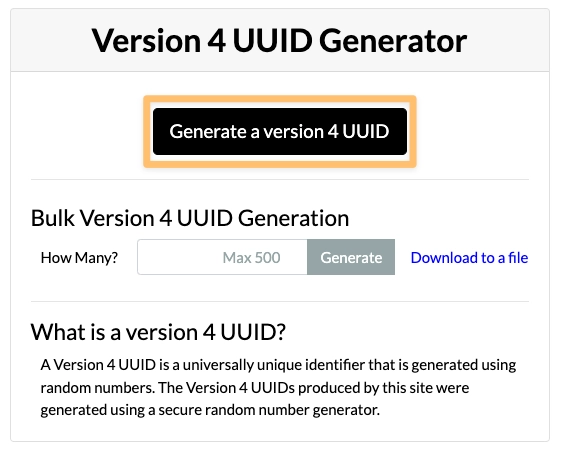
Before we jump into the setup, let’s address security. It's crucial to keep your stored information in Zapier secure. We'll generate a unique, nearly unguessable 'password' for the Storage by Zapier step using a UUID (version 4).
How to do it:
Generate a UUID: Visit a UUID generator to create a version 4 UUID. This string will act as your secure 'password' for your storage connection.
Using a UUID enhances security, ensuring your stored data remains protected.
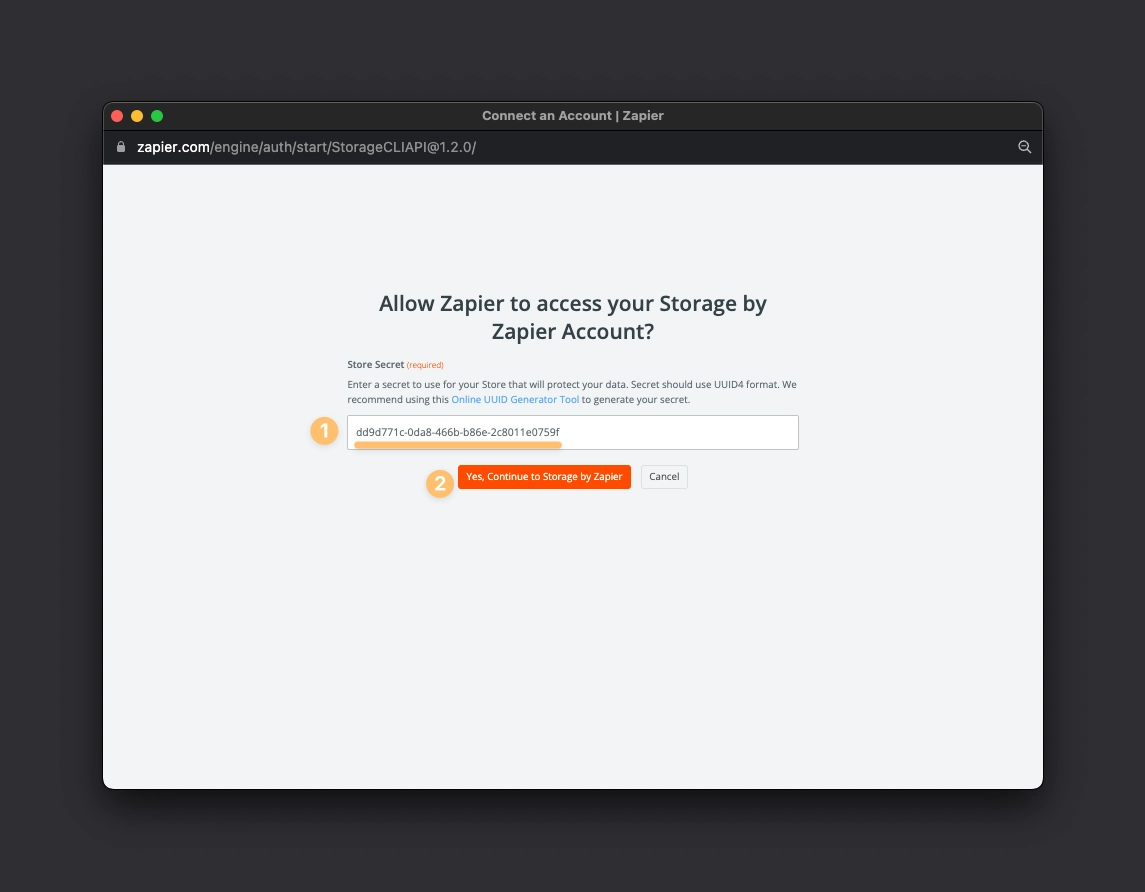
Set Up Your Storage: Now, navigate to Zapier's Storage Connection page. Add a new connection and when prompted, paste in the UUID you generated and confirm.
Step-by-Step Guide:
Add Code by Zapier: In your existing Zap, add a new step and choose 'Code by Zapier'. Then, pick the 'Run Python' action.
Fill in Input Data:
Name the first row 'array' and map or select a list for its input.
Name the second row 'secret' and paste the UUID you generated earlier into this row.
Input the Code: Paste the provided Python code for the round-robin in the 'Code' field.
By following these steps, you’re not only adding a round-robin to your Zap, but you’re doing it securely and efficiently!

Here’s the code to copy/paste:
1import requests 2Time to Test:
Hit 'Test' to run this new Code by Zapier action. If all goes well, you'll successfully cycle through your list of values using just one task.
When Going Live:
Once satisfied with the test, publish your Zap. The beauty of this setup is your round-robin will resume from where it left last, ensuring smooth operation.
Congratulations! You've just simplified your Zapier workflow by adding a secure, efficient round-robin—in just one task! Impressive, isn’t it? If you have any questions or face any hurdles, feel free to drop a comment below. I’m here to help!
Wishing you a productive day ahead!

Comments